
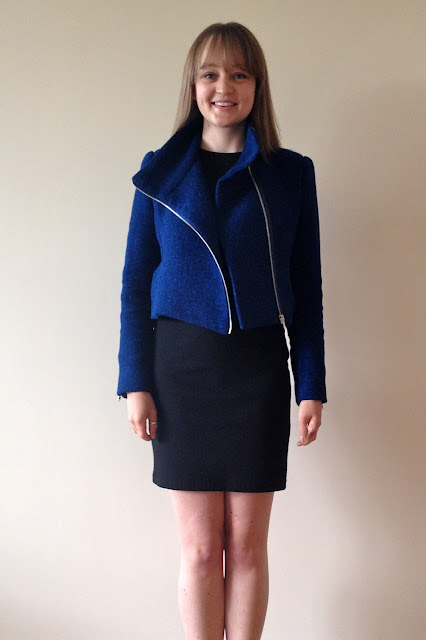
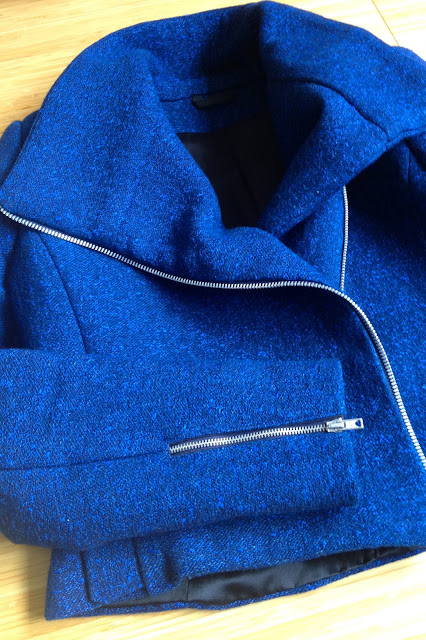
I was really intrigued when I spotted this Rag & Bone Navy/Blue Cotton-Rayon Crepe in the new arrivals section of the Mood Fabrics website! It sounded so unusual being of a medium to heavy weight yet fluid. I'd been after something unique to make myself a biker style jacket after seeing Pauline Alice's amazing short version of her Quart Coat so decided to take the plunge for this month's Mood Sewing Network project and order myself enough of this to investigate. When it arrived it was kind of what I was imagining and kind of not...whatever it was it was beautiful! It's fairly thick and spongy with something of a boucle texture to it at the same time as having a wonderfully soft drape. I love the slub effect of the vivid electric blue flecked through the navy.
I cut a size 36 and used just 1.5 yards of the crepe. Despite the fabric being reasonably thick I thought perhaps for this style of jacket it could do with a little more support and structure so I fused all my pattern pieces with a lightweight cotton interfacing. I'm really pleased with this choice as without adding much weight it helped prevent the pattern pieces from stretching out of shape as despite being dense and opaque the weave is fairly loose and prone to fraying. To combat the fraying I overlocked the edges of all the pattern pieces before assembly. In addition to the lightweight interfacing I used a medium weight as a back stay, following the guide on the pattern piece for the shape.
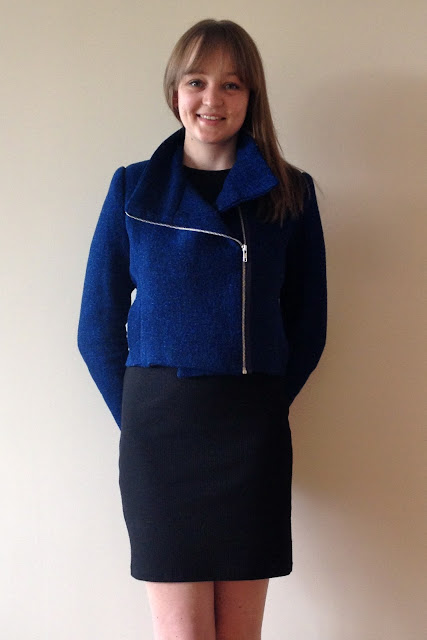
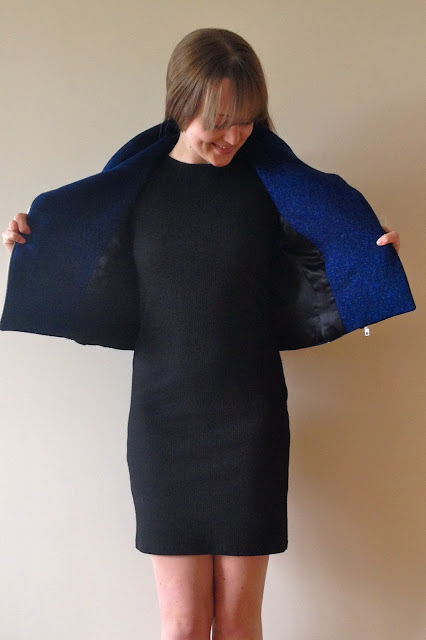
One of the great things about this fabric is that the reverse is the opposite colour way, with the electric blue the dominant colour flecked with navy. I really wanted to make use of this and considered using the contrasting side for small elements such as the pocket welts but in the end the fact that I wanted this to be a classic jacket which I could wear with anything won out and I decided to keep it simple. I'm still keeping my eye out for patterns suitable for colour blocking which I could us this for though!
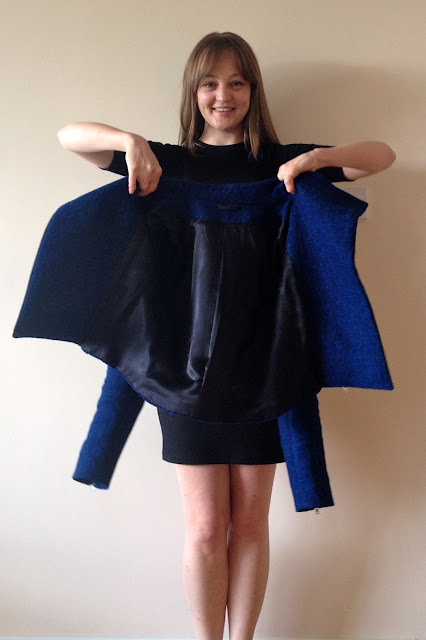
I went all out and lined the jacket with silk charmeuse in 'midnight'. I wish I could afford to line everything in charmeuse from now on! It feels so luxurious when I'm wearing it over a sleeveless top. I had to get a little creative with the cutting as I only had one yard...I ended up piecing the under sleeve pattern piece as there just wasn't quite enough space! I cracked out my walking foot for the first time when sewing it up and it was so helpful when trying to keep those seam lines smooth and pucker free. I didn't have much trouble cutting it just using good old shears and pins as the pattern pieces are nice and small and I used a fine sharps needle in my machine to assemble these pieces.

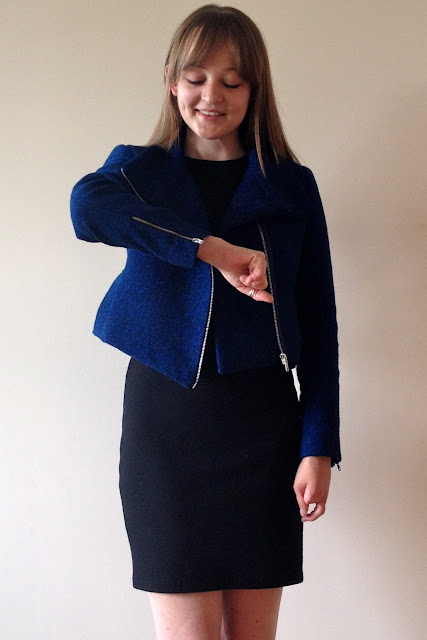
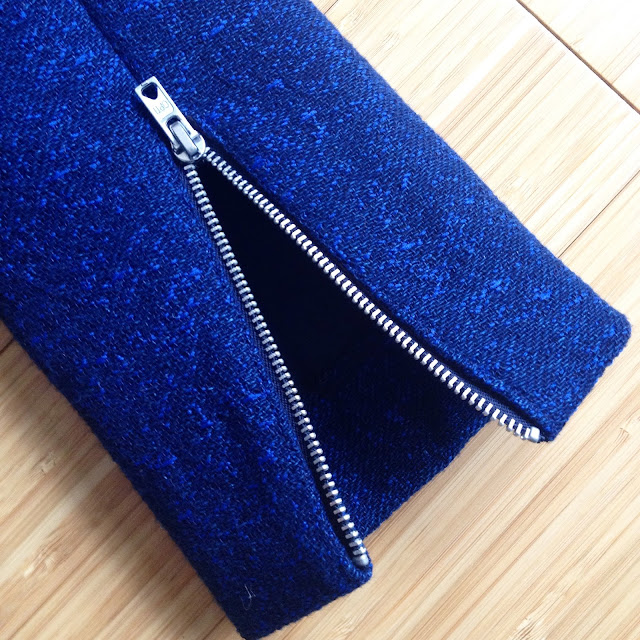
I followed Pauline's instructions to adapt the pattern into a short zipped jacket rather than the full length buttoning coat. I drew my cutting line at 10cm below the waistline as recommended and moved the pockets up. I'm fairly short at 5ft 3" and I wouldn't want the jacket any shorter so if you are considering following this tutorial I'd think about leaving a little more length.
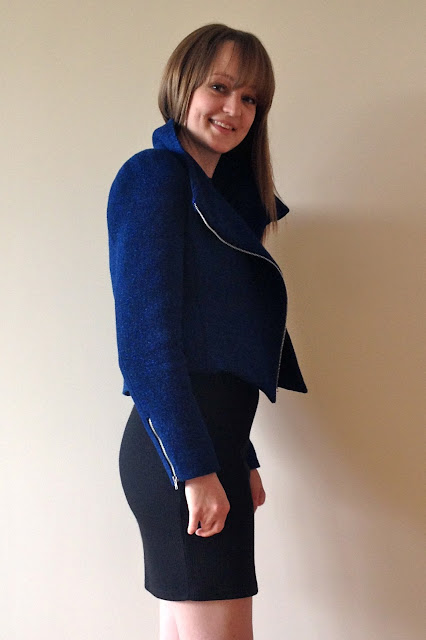
The pocket welts are an addition I drafted myself following Pauline's tutorial again. They are really simple to add in as the pocket openings are in the princess seams. I did make up the epaulettes and pin them onto the jacket but I decided not to use them in the end as I liked the look of a sleeker shoulder.
There were a few elements of the construction of this jacket that had me feeling a little hesitant as they were so new to me. Firstly there was dealing with sleeve heads and shoulder pads. Setting in sleeves is probably my least favourite sewing task at the best of times so thinking about trying to create a beautiful tailored shoulder for this jacket was slightly off putting! I'm going to talk about my process for doing this in more depth later in the week but for now I'll just say I'm totally delighted with the result I managed to achieve and this was largely down to how well this lovely fabric responded to being shaped with heat and steam.
The pattern is great and I'm definitely considering making it up as a full length coat this winter. If I do I think I'd go down a size at the waist as looking at the finished measurements there's quite a lot of ease in that area. It's sort of semi-tailored so I think good for a first foray into coat sewing; there's some challenging elements involved and you could certainly add things like bound buttonholes but there's no pad stitching or collar roll lines to deal with. I would recommend having a bit of sewing knowledge under your belt to tackle this one though. The instructions are good and the illustrations small yet clear but it would help to have experienced some of the techniques beforehand (for example how to sew in a sleeve head). I did find myself looking up some extra advice at certain points and making my own additions to the instructions such as under-stitching the lining at the pocket openings and stitching by hand in the ditch between the collar and jacket body to secure the two layers together. Not that this is a problem with the pattern at all; I never think it's the designer's responsibility to explain every single step in immense detail and if you're taking on a coat project it's fair to assume you have a bit of experience and will know the basics.
The fabric was so lovely to work with throughout. It's one of those fabrics that's so inspiring it kept me motivated all the way through what was a fairly tricky project. With time consuming projects like this I think it's always worthwhile picking a fabric that you really love so you're not going to get fed up of looking at it half way through and fall out of love with the whole idea! That being said I always enjoy a project like this where there are lots of fiddly little construction elements and pattern pieces to work with! I like seeing it all come together and taking it one little step at a time.
