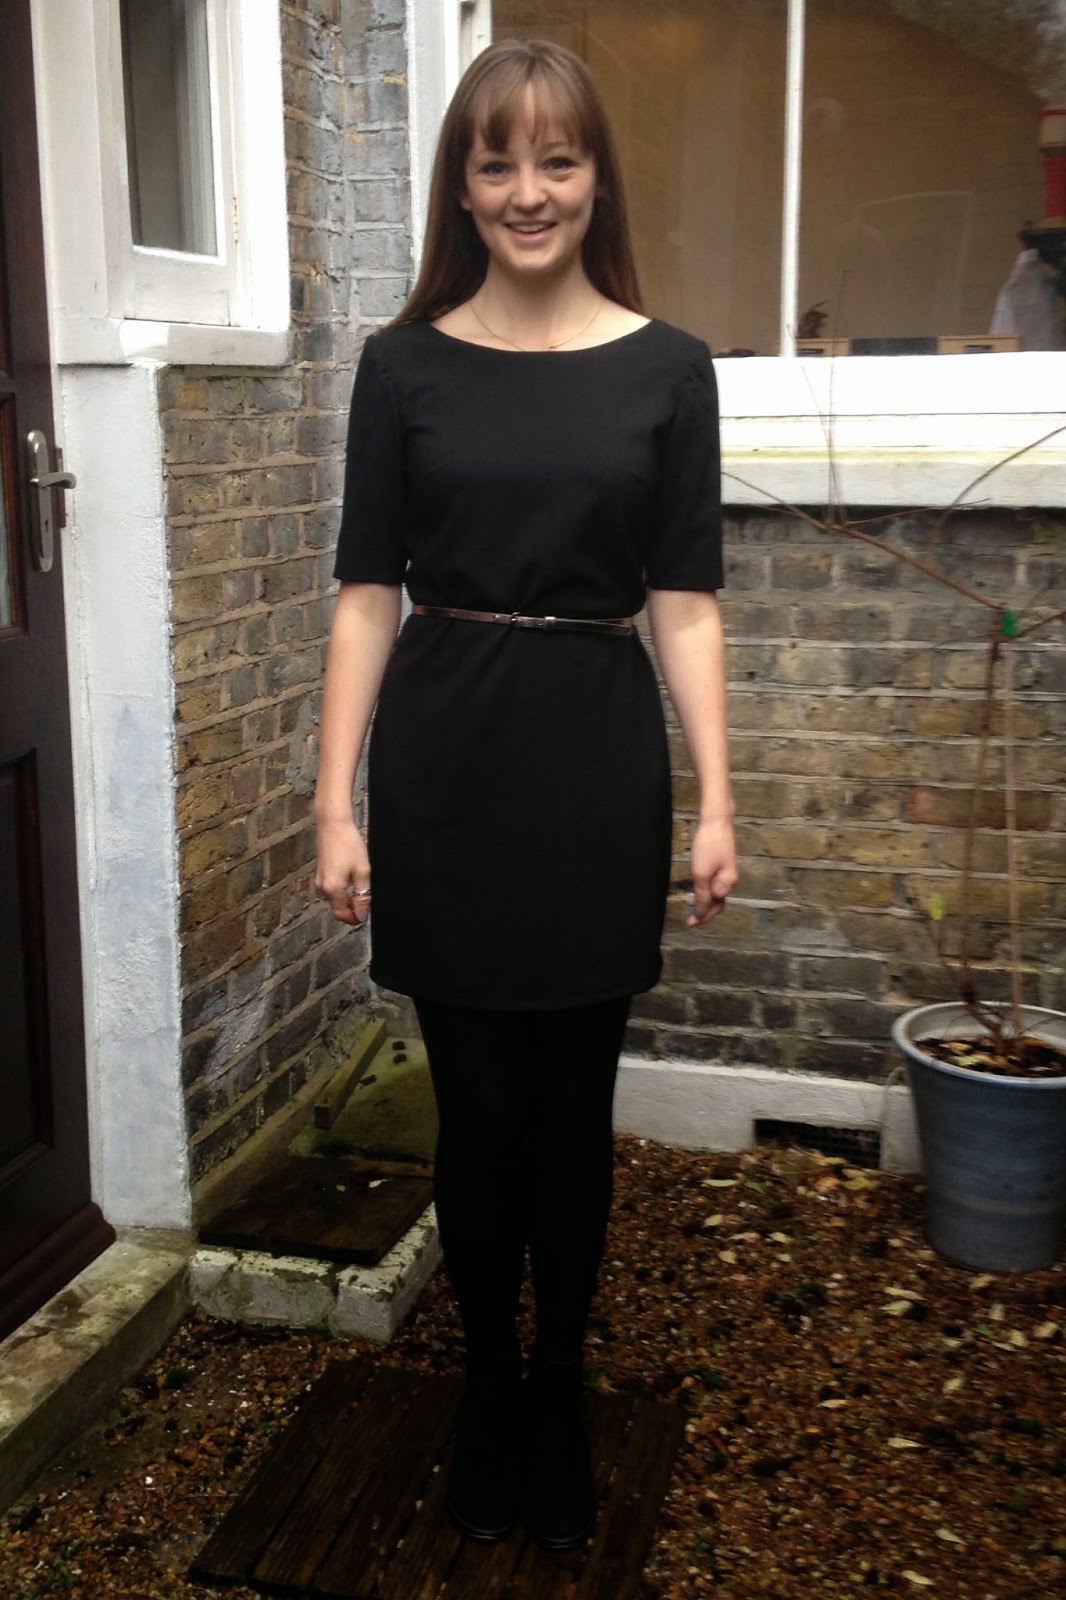
The first completed garment I've got to share with you in 2015 is actual one of my final projects of 2014. It racked up a fair few wears in those last few weeks of 2014 too! They don't lie when they say having a classic little black dress in your wardrobe will save your bacon for any occasion; this dress worked perfectly for pre Christmas cocktails, pub drinks, lunches and even an afternoon tea!
![Diary of a Chain Stitcher: Little Black Colette Laurel Dress in Mood Fabrics Wool Sateen]()
Ever since making my polka dot version of the Laurel blouse from Colette Patterns I'd had a plain black version of the dress variation on my mind. I'd had such success with the style and fit of the blouse on me that I'd been dreaming about it in all kinds of fabrics and variations to be honest! For this dress I used this gorgeous wool sateen from Mood Fabrics and only needed just over a metre. It's kind of like a fairly lightweight suiting with a small amount of stretch, I bet it would make a lovely pair of trousers. It's hand is very smooth and it was lovely to sew with. I pre washed it on a gentle cycle in the machine as I was hoping this would be a big success and I'd want to be able to easily and regularly wash it. Then I gave it a good steamy press and it came up beautifully. It didn't need any other special treatment and I finished all the seams on my overlocker.
![Diary of a Chain Stitcher: Little Black Colette Laurel Dress in Mood Fabrics Wool Sateen]()
I dove straight in and cut the size 2 as I had done with the blouse, presuming that it was drafted exactly the same. Spoiler alert, they're not! If you lay the front blouse piece onto of the front dress piece you'll see that the main difference is in the shape of the armhole. On the blouse pattern piece the armsyce dips inward quite dramatically just above the bust which seems a little odd to me and incidentally my blouse is slightly tight across the chest at this height. The dress pattern piece doesn't dip in in the same way and the armhole shape looks much more normal so I didn't make my planned alteration of adding some width in this area. The fit turned out fairly well but I do have a couple of small wrinkles here which I think indicate that I need a little more room across the lower bust next time. I think the bust points could also do with being lowered a tiny bit.
![Diary of a Chain Stitcher: Little Black Colette Laurel Dress in Mood Fabrics Wool Sateen]()
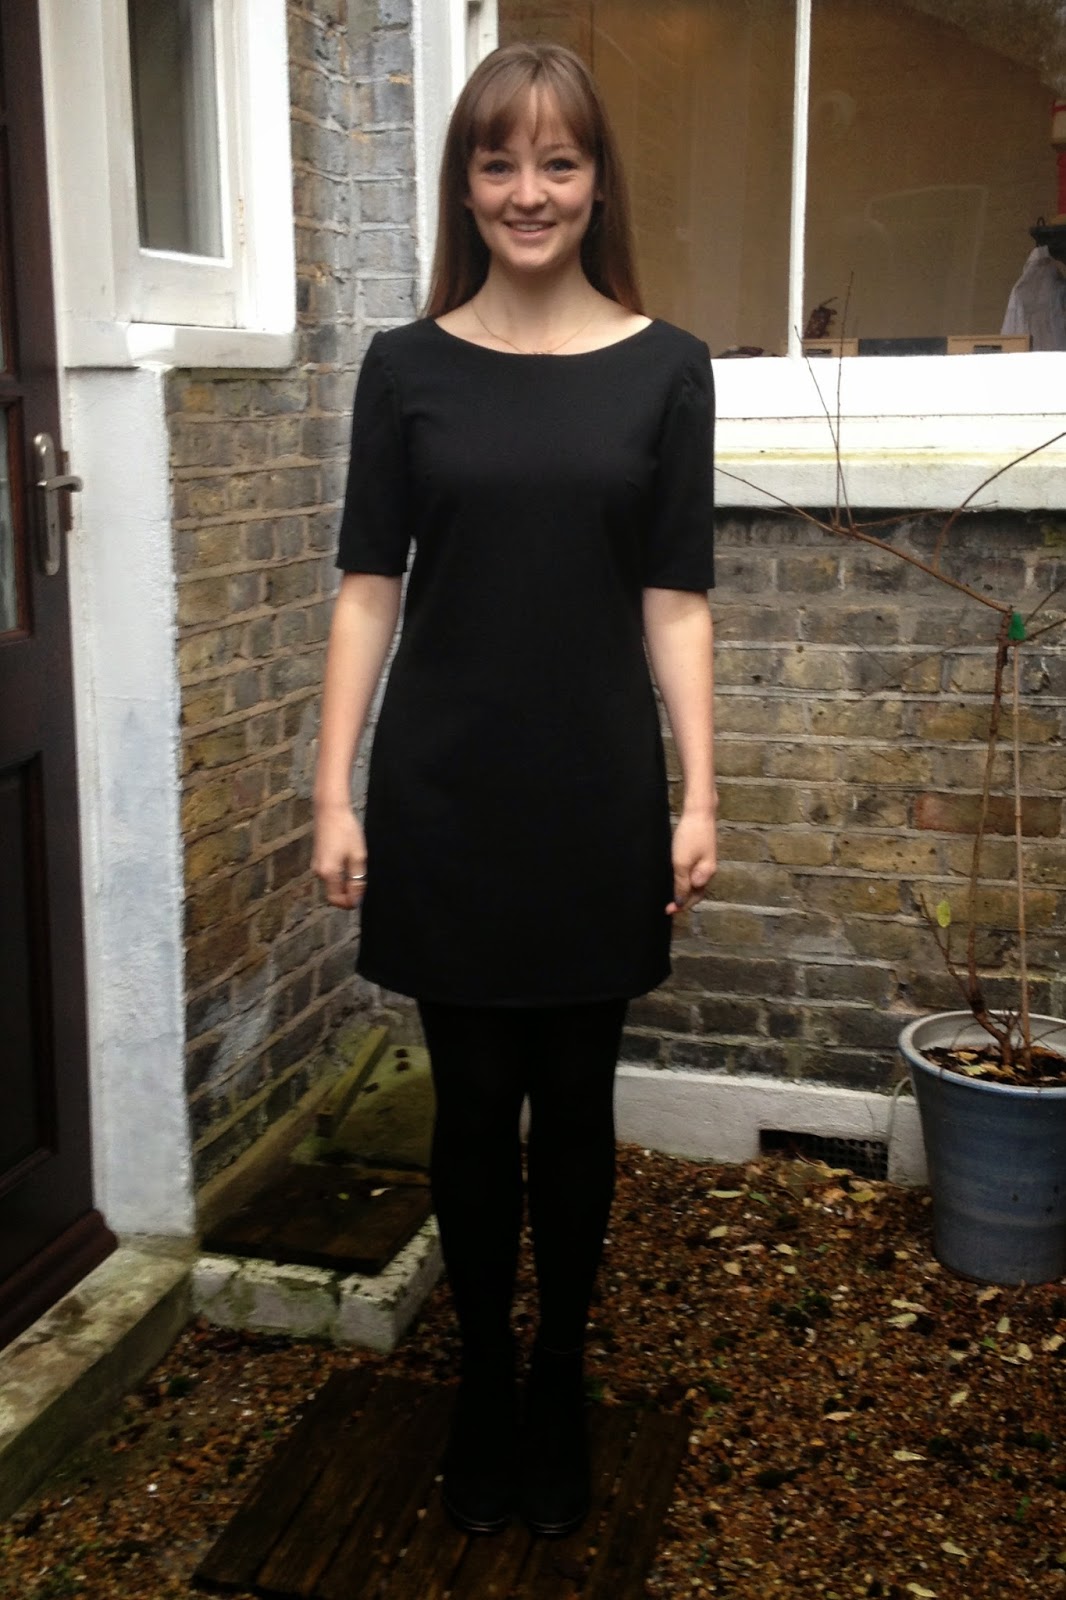
Once the basic shift was assembled and before the sleeves were set in I popped it on to assess the fit. To be honest it felt like a bit of a tent and not the flattering, figure skimming shift I imaged. Comparing the pattern pieces the width of the dress and blouse are very similar but I think the blouse still feels flattering with this much ease because of the shorter length and the fact that you are not hiding any of your shape below the waist. A bit of pinching and pinning later, I decided that it could be salvaged by taking it in down the side seams. I took out 1" on the double from each side seam from the waist to hem and graded out to nothing at the underarm as I didn't want to loose any ease across the bust. That's 4" in total that I removed from below the waist!
![Diary of a Chain Stitcher: Little Black Colette Laurel Dress in Mood Fabrics Wool Sateen]()
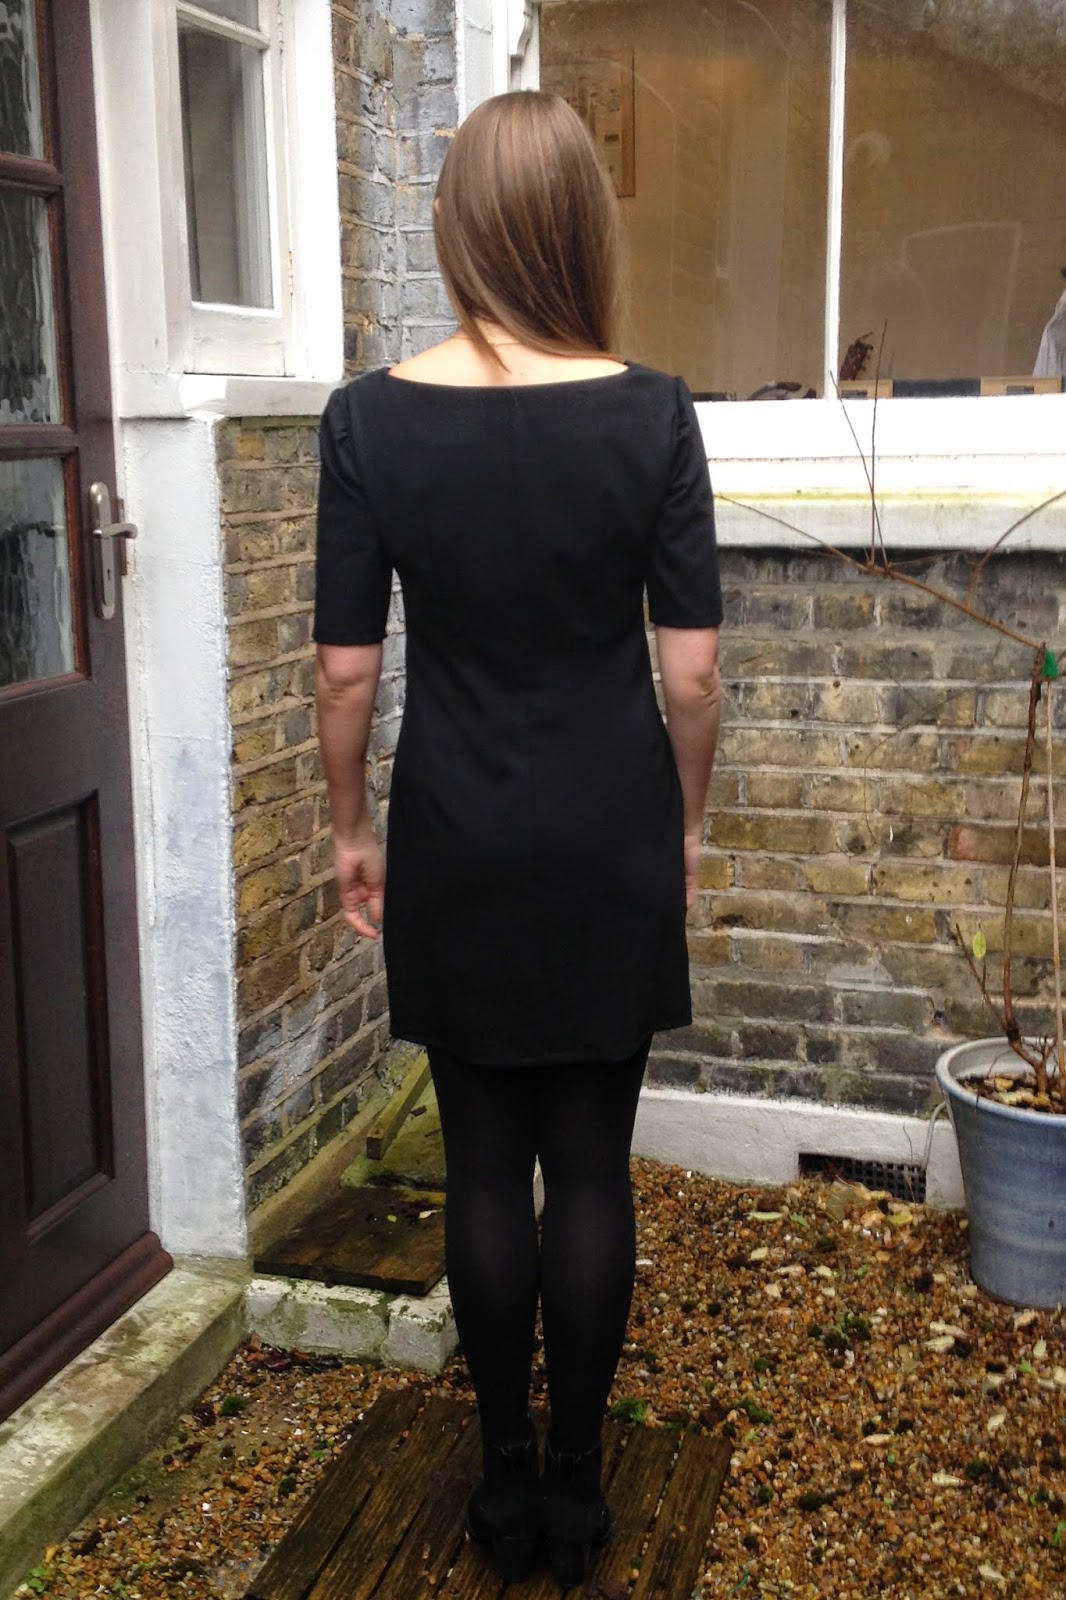
My rather makeshift fitting worked out pretty well as I love the shape of it now. I've transferred the alteration to the pattern pieces so I can copy it next time. However, it does tend to ride up a little/not fall back into place without a tug when I stand so I think I could do with a little more room around the bum. I'll probably take slightly less out of the side seams from just above the hip to the hem. The only other change I made was to take 1 1/2" off the length. I expected that I would need to as I'm fairly short and (after pinning the hem up at different heights and inspecting in the mirror) I found going as short as I dared made this silhouette work better for me. After a number of wears I feel like I got the length spot on as I feel comfortable sitting, standing and even going up and down the escalators from the tube! It's not really practical for work but I've got a lot of evening and weekend wear out of it as I say. I hemmed it with two turns of 1/2" before machine stitching.
![Diary of a Chain Stitcher: Little Black Colette Laurel Dress in Mood Fabrics Wool Sateen]()
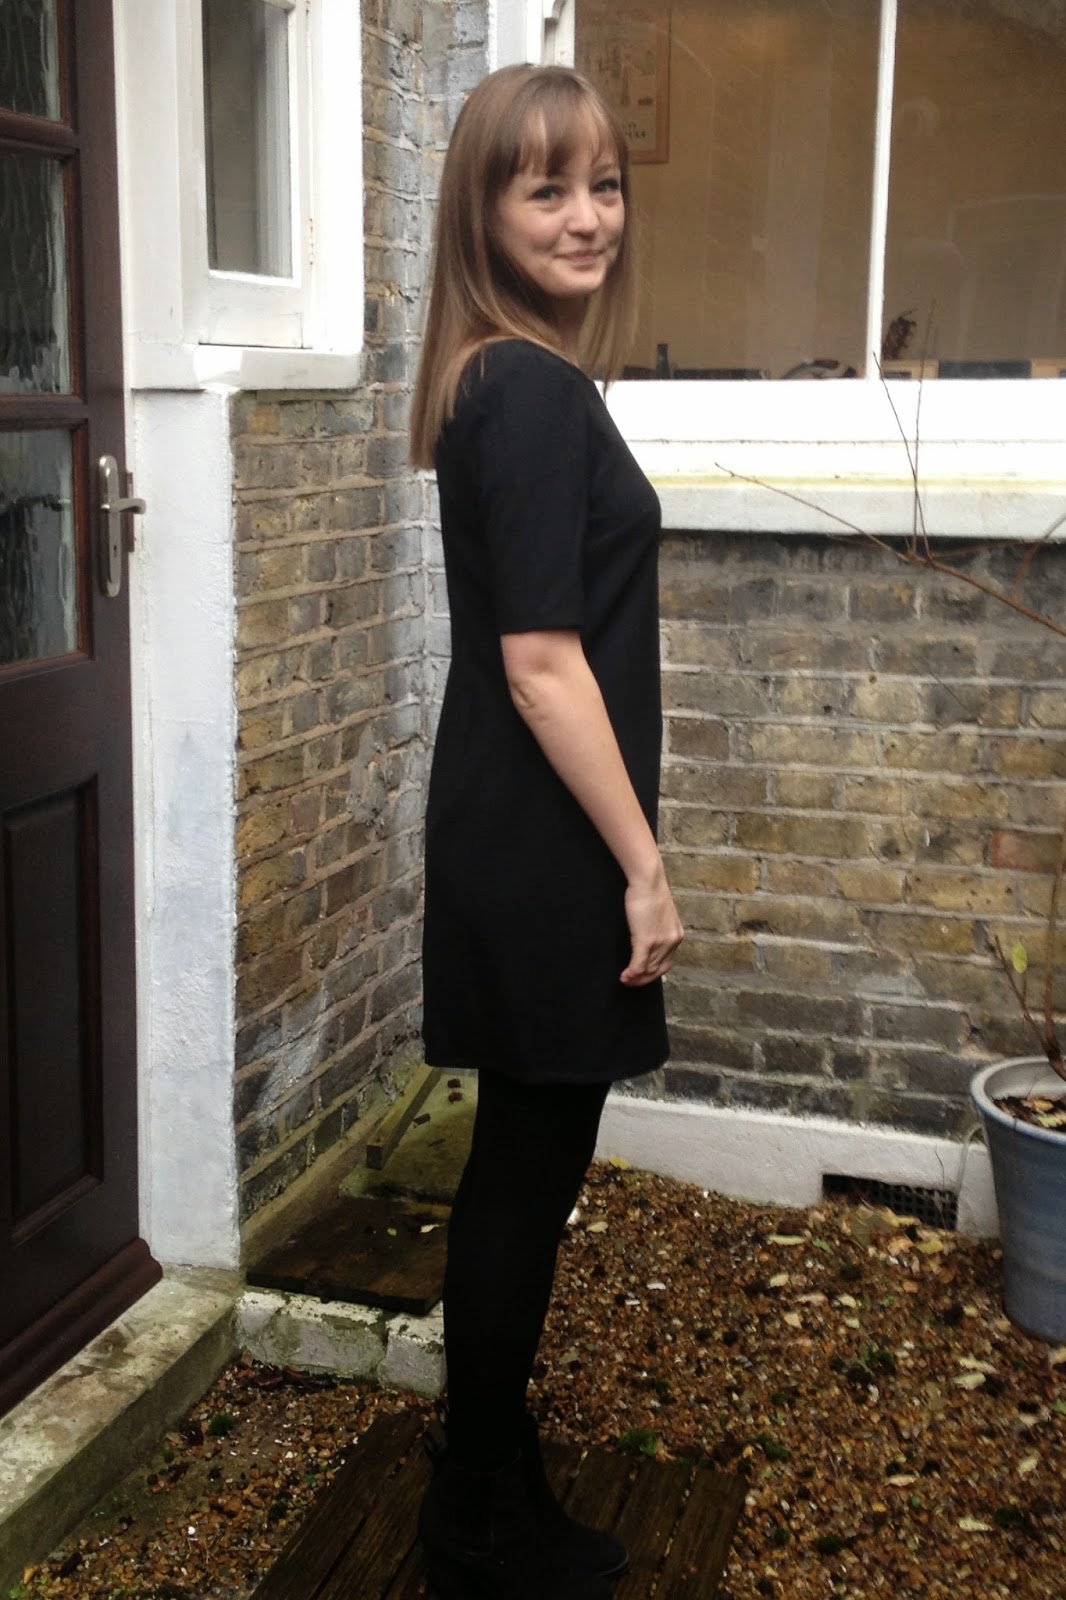
I omitted the zip in this as I knew from making the blouse that I could get it on and off without a fastening. Thankfully, partly due to the stretch in this sateen, this still worked once I had taken in the side seams! If making in a fabric with no stretch whatsoever I would need to include the zip now I have slimmed it down. You can see from the rear picture that I had some trouble setting in these sleeves and I'm not particularly happy with the final result but they are at least comfortable and wearable. I'm wondering if the issues I had with easing the sleeve heads in compared to blouse version were caused by the fact that the armholes are different shapes so the length the sleeve head has to be eased into is different? Despite my issues with the sleeve heads I do love this length of sleeve!
![Diary of a Chain Stitcher: Little Black Colette Laurel Dress in Mood Fabrics Wool Sateen]()
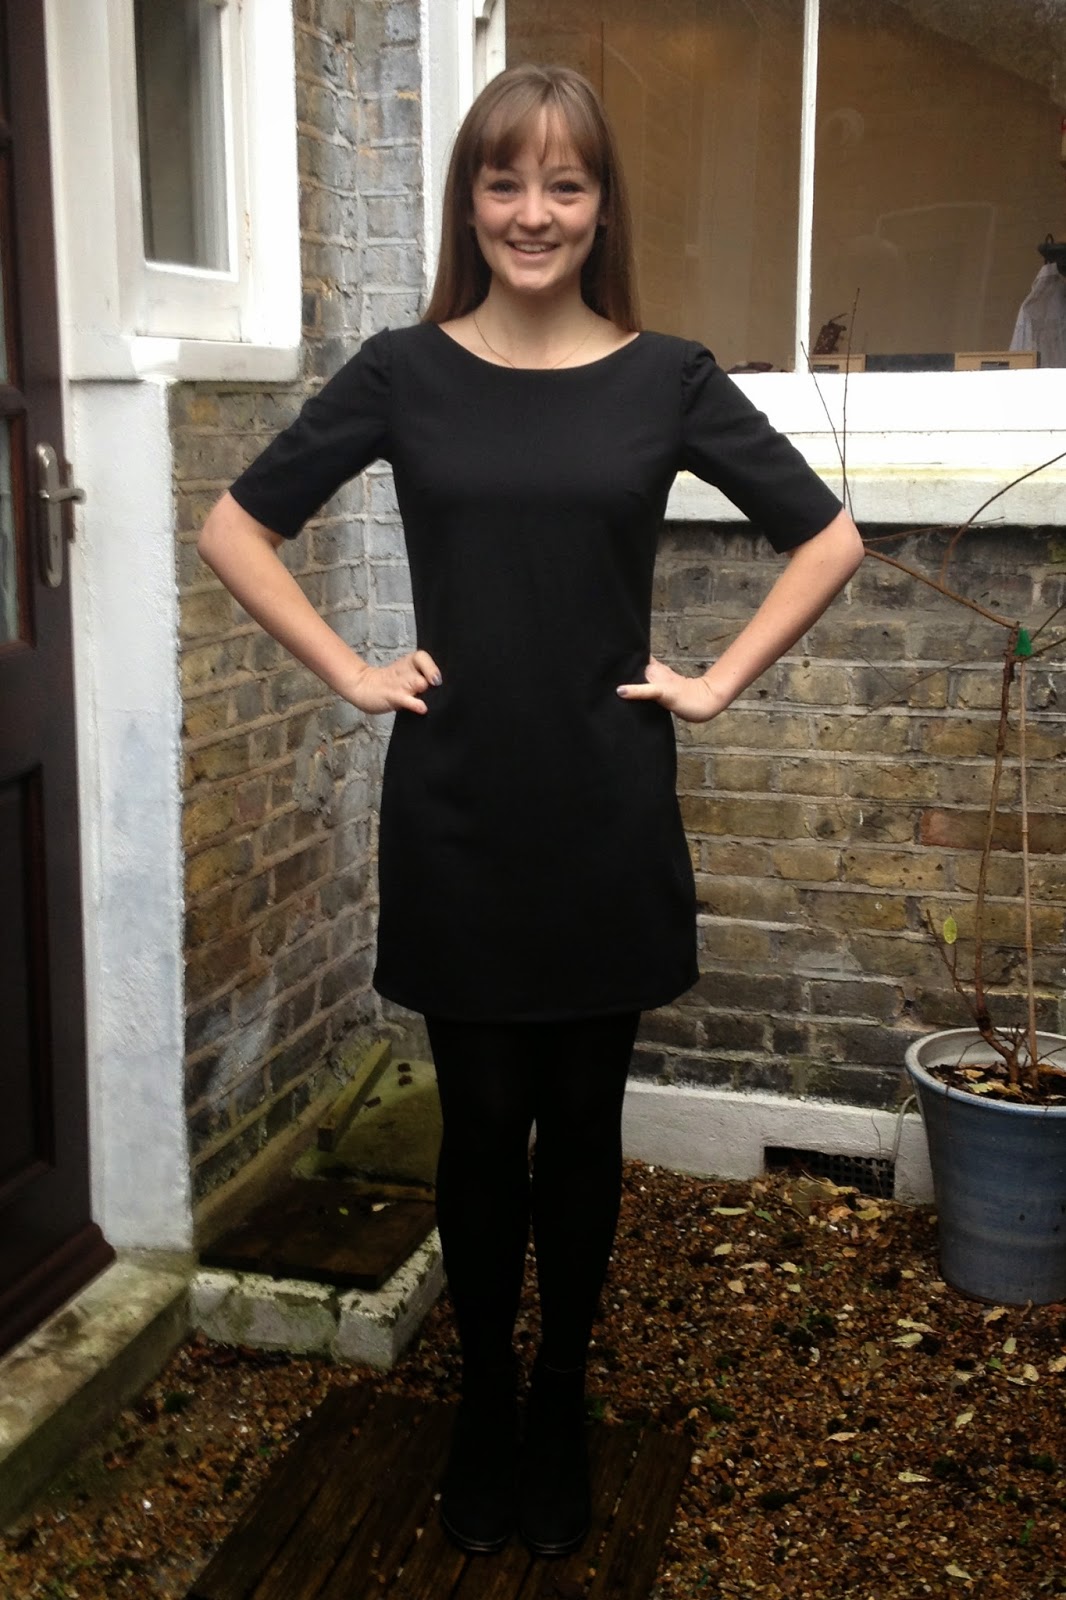
I drafted my own facing for the neckline (as I did for the blouse) instead of using bias binding to finish it as recommended by the pattern. I don't often have much success with this technique and trying to get the binding to sit flat around this shape of neckline on my first version of Laurel was a total nightmare which I ended up giving up on. I still had some trouble getting the neckline to lay flat but clipping, under stitching and thoroughly pressing the edge sorted that out. I also caught the facing down with a few hand stitches at the centre front and back and shoulder seams to prevent it trying to flip to the outside.
![Diary of a Chain Stitcher: Little Black Colette Laurel Dress in Mood Fabrics Wool Sateen]()
Despite the construction issues and tweaking of the fit that I still need to do on this pattern I'm delighted with this super wearable addition to my wardrobe! It dresses up or down with different shoes and I love it with a skinny belt too. Have any of you got any other pattern recommendations for a classic little black dress?
Ever since making my polka dot version of the Laurel blouse from Colette Patterns I'd had a plain black version of the dress variation on my mind. I'd had such success with the style and fit of the blouse on me that I'd been dreaming about it in all kinds of fabrics and variations to be honest! For this dress I used this gorgeous wool sateen from Mood Fabrics and only needed just over a metre. It's kind of like a fairly lightweight suiting with a small amount of stretch, I bet it would make a lovely pair of trousers. It's hand is very smooth and it was lovely to sew with. I pre washed it on a gentle cycle in the machine as I was hoping this would be a big success and I'd want to be able to easily and regularly wash it. Then I gave it a good steamy press and it came up beautifully. It didn't need any other special treatment and I finished all the seams on my overlocker.

Once the basic shift was assembled and before the sleeves were set in I popped it on to assess the fit. To be honest it felt like a bit of a tent and not the flattering, figure skimming shift I imaged. Comparing the pattern pieces the width of the dress and blouse are very similar but I think the blouse still feels flattering with this much ease because of the shorter length and the fact that you are not hiding any of your shape below the waist. A bit of pinching and pinning later, I decided that it could be salvaged by taking it in down the side seams. I took out 1" on the double from each side seam from the waist to hem and graded out to nothing at the underarm as I didn't want to loose any ease across the bust. That's 4" in total that I removed from below the waist!
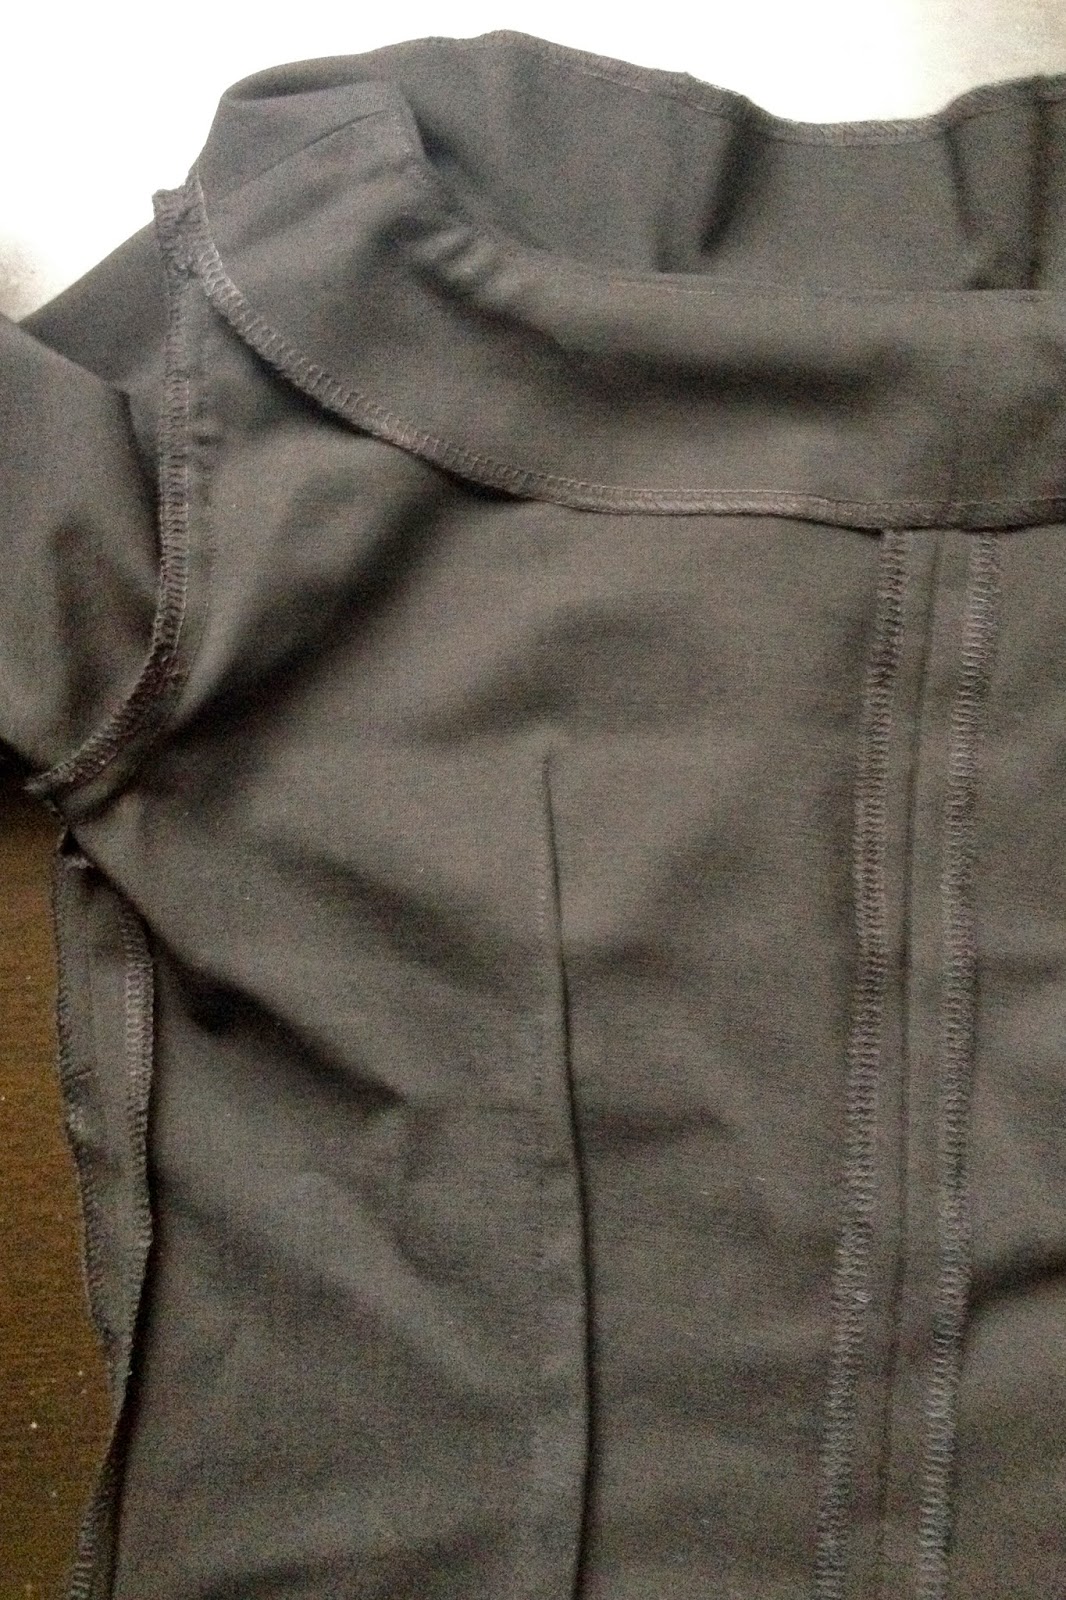
I drafted my own facing for the neckline (as I did for the blouse) instead of using bias binding to finish it as recommended by the pattern. I don't often have much success with this technique and trying to get the binding to sit flat around this shape of neckline on my first version of Laurel was a total nightmare which I ended up giving up on. I still had some trouble getting the neckline to lay flat but clipping, under stitching and thoroughly pressing the edge sorted that out. I also caught the facing down with a few hand stitches at the centre front and back and shoulder seams to prevent it trying to flip to the outside.